The fastest way to fix a scratch on a hardwood floor is to first decide how deep it actually goes — because a surface scuff, a scratch through the finish, and a gouge into the raw wood are three different repairs, and treating a deep one like a shallow one usually makes it worse. A light scuff wipes out with the right cleaner and a soft pad. A scratch through the finish takes a matching touch-up or, on an oiled floor, a spot re-oil. A gouge into bare wood — or any scratch that has broken through a lacquered, factory-cured floor — is a job for a pro. Here is how to tell which one you are looking at, and exactly what to do about each.
First, how deep is it?
A hardwood floor is really two things stacked: the wood, and a finish that either sits on top of it or soaks into it. Every scratch lives in one of three places, and there is a two-second test that tells you where. Kneel down, wet the mark with a damp cloth to see it clearly, then drag a fingernail across it. If your nail glides over and the mark all but disappears when wet, it is shallow. If your nail catches in a groove, the scratch has reached the wood. That single test decides everything that follows.
Rung 1 — a surface scuff
The most common "scratch" people panic over is not a scratch at all — it is a scuff or a smear sitting on top of the finish. A rubber shoe sole, a dragged chair leg, a dog skidding to a stop: all leave a gray or black mark that looks etched but is only deposited. It wipes off. Before you reach for anything harsher, clean it — the mark is on the finish, not in it.
Rung 2 — a scratch through the finish
This one has cut into the finish layer but stopped before the wood. It catches a fingernail lightly and shows as a hairline that stays visible even when the surrounding floor is clean and wet. The wood underneath is untouched, so the color is right — you are only repairing the clear coat. This is the rung where the type of finish on your floor matters most, and where a homeowner can often make a good repair invisible.
Rung 3 — a gouge into the wood
A deep dig from a moving appliance, a dropped tool, or grit ground under a heavy caster reaches past the finish into the wood itself. Your nail drops into it, and often you can see raw, lighter-colored wood at the bottom. Bare wood in Naples is an open door for moisture, so a real gouge should not be left open — but it is also past the point of a quick wipe. This is where a filler-and-refinish or a professional repair earns its place.
“Wet the mark and drag a fingernail across it. If your nail glides, it's shallow. If it catches, the wood is involved — and the repair changes.”
The finish decides the fix
Here is the part most homeowners never get told, and it is the whole game: whether you can spot-fix a scratch yourself depends far less on how deep it is than on which finish your floor wears. There are two, and they behave in opposite ways. A hard-wax oil finish penetrates the wood — the color and protection live inside the grain, not in a film on top. A lacquer (the factory finish RIVA ships on every plank is a VOC-free Bona lacquer, UV-cured at the mill) seals the wood under a continuous, hardened film.
That difference is everything for repairs. Because an oiled floor is finished from within, you can re-oil a single scratch, feather it into the surrounding grain, and it disappears — no sanding, no visible patch, done at your own kitchen table. A lacquered floor cannot be spot-blended the same way: you cannot melt a dab of fresh lacquer invisibly into a cured film without a witness line showing where the repair stops. A minor scratch in lacquer can be hidden with a matching touch-up, but once the film is genuinely broken, the right fix is a professional recoat of the whole area, not a dab in the middle of the room.
“You can spot-fix an oil finish. A lacquered floor scratched through its film wants a pro recoat — not a dab in the middle of the room.”
What you can fix yourself
Plenty of scratches never need a professional. If you have matched your floor to the right rung and you know your finish, these are the repairs worth doing at home — in order from lightest to deepest. Always start by cleaning the area with a pH-neutral wood-floor cleaner: half of what looks like damage is grime that lifts right off, and you never want to work a repair over trapped grit.
- 01Buff out a surface scuff
Clean it first. If a gray or black mark remains, work it gently with a soft cloth and a dab of pH-neutral cleaner — or, for a stubborn rubber scuff, a clean tennis ball or melamine sponge used lightly. It is sitting on the finish; you are lifting it, not sanding it.
- 02Touch up a finish scratch with a matching marker or wax stick
For a hairline through the finish, a color-matched wood repair marker or a fill-stick blends it away. Test the color on an out-of-sight board first — a closet threshold — and build up slowly. Wipe the excess before it sets.
- 03Spot re-oil an oiled floor
This is oil's superpower. Lightly abrade just the scratch, wipe clean, apply a small amount of the same maintenance oil your floor was finished with, feather it into the grain, and buff off the surplus. Done right it vanishes — no sanding the room, no visible patch.
- 04Fill a small gouge — cautiously
A tinted hardwood filler can level a small, isolated gouge on a lacquered floor. It is a cosmetic fix, not a structural one, and it rarely disappears completely. On a floor you care about, or on more than a spot or two, this is the moment to call rather than fill.
One quiet fix prevents more than it repairs: felt pads. Most "mystery" scratches under chairs and stools are a bare wood or metal foot dragging grit across the floor. Ninety cents of felt under every leg stops the next scratch before it starts.
When it's a pro's job
Some scratches are genuinely beyond a home repair, and knowing where that line sits saves you from making a good floor look worse. There are two levels of professional repair, and they are not the same job. A screen-and-recoat is the lighter one: we abrade the existing finish across a whole room or floor with a fine screen, then lay a fresh coat over it. It refreshes the surface and swallows a field of light scratches in about a day, with no bare wood exposed and almost no dust — and it is the correct answer for a lacquered floor whose film has been scratched through in more than a spot or two.
A full sand-and-refinish is the heavy one: the floor is taken down to raw wood, re-stained if needed, and finished fresh. That is for deep gouges, floors scratched broadly over years, or a color change — and it is the only fix that erases a real gouge into the wood completely. On a Naples slab we sequence it carefully: bare wood and standing moisture do not mix, so we control humidity and dust throughout. We also keep every project's finish and board spec on file for 25 years, so if you need a repair matched years later, we already know exactly what is on your floor.
If you are not sure which you need — or you have a RIVA or other lacquered floor and the film is broken — bring us a photo or a description. Call the showroom at (239) 597-0077, and we will tell you honestly whether it is a marker-and-move-on, a recoat, or a full refinish before anyone spends a dollar.
Why Naples floors scratch in the first place
If you understand what is actually scratching your floor here, you can stop most of it. In Naples, the number-one culprit is not furniture and it is not your dog — it is sand. Fine silica tracked in from the beach, the driveway, the lanai, and the pool deck rides in on the bottom of every shoe and paw, and underfoot it behaves exactly like sandpaper. Each step grinds a little grit against the finish. It is why floors near a sliding-glass door to the lanai wear first: the door track is a reservoir of sand, and every time the door opens, a little more spills onto the floor at the busiest threshold in the house.
The rest of the Naples list follows from the climate. Salt air and hard-running AC swing the indoor humidity, so the wood moves and any grit worked into a seam scratches as it does. Dog nails on a skid, unpadded furniture on a settled slab, and beach chairs dragged in from the car all add their share. None of it is exotic — which is the good news, because the prevention is simple and cheap.
“In Naples the thing scratching your floor isn't your furniture — it's the sand riding in on the bottom of everyone's feet.”
Stop the next scratch
A repaired floor is only as good as the habits around it. These are the prevention steps we give every hardwood client — none of them cost much, and together they end the great majority of the scratches we get called about.
- 01Trap the sand at every door
A washable mat outside and a rug inside every door to the lanai, garage, pool, and front entry catches the grit before it reaches the wood. This one habit prevents more scratches than all the others combined.
- 02Get the grit up, gently, often
Dust-mop or vacuum the high-traffic paths every day or two — no beater bar, which itself scratches. You are removing the sandpaper before it gets walked in.
- 03Felt every foot, coaster every caster
Felt pads under chairs, stools, and table legs; hard casters swapped for soft or set on mats. Lift furniture to move it — never drag it across the floor.
- 04Clean the sliding-glass tracks
The door track by the lanai is a sand reservoir. Vacuum it out regularly so it stops feeding grit onto your busiest threshold.
- 05Keep nails and shoes in check
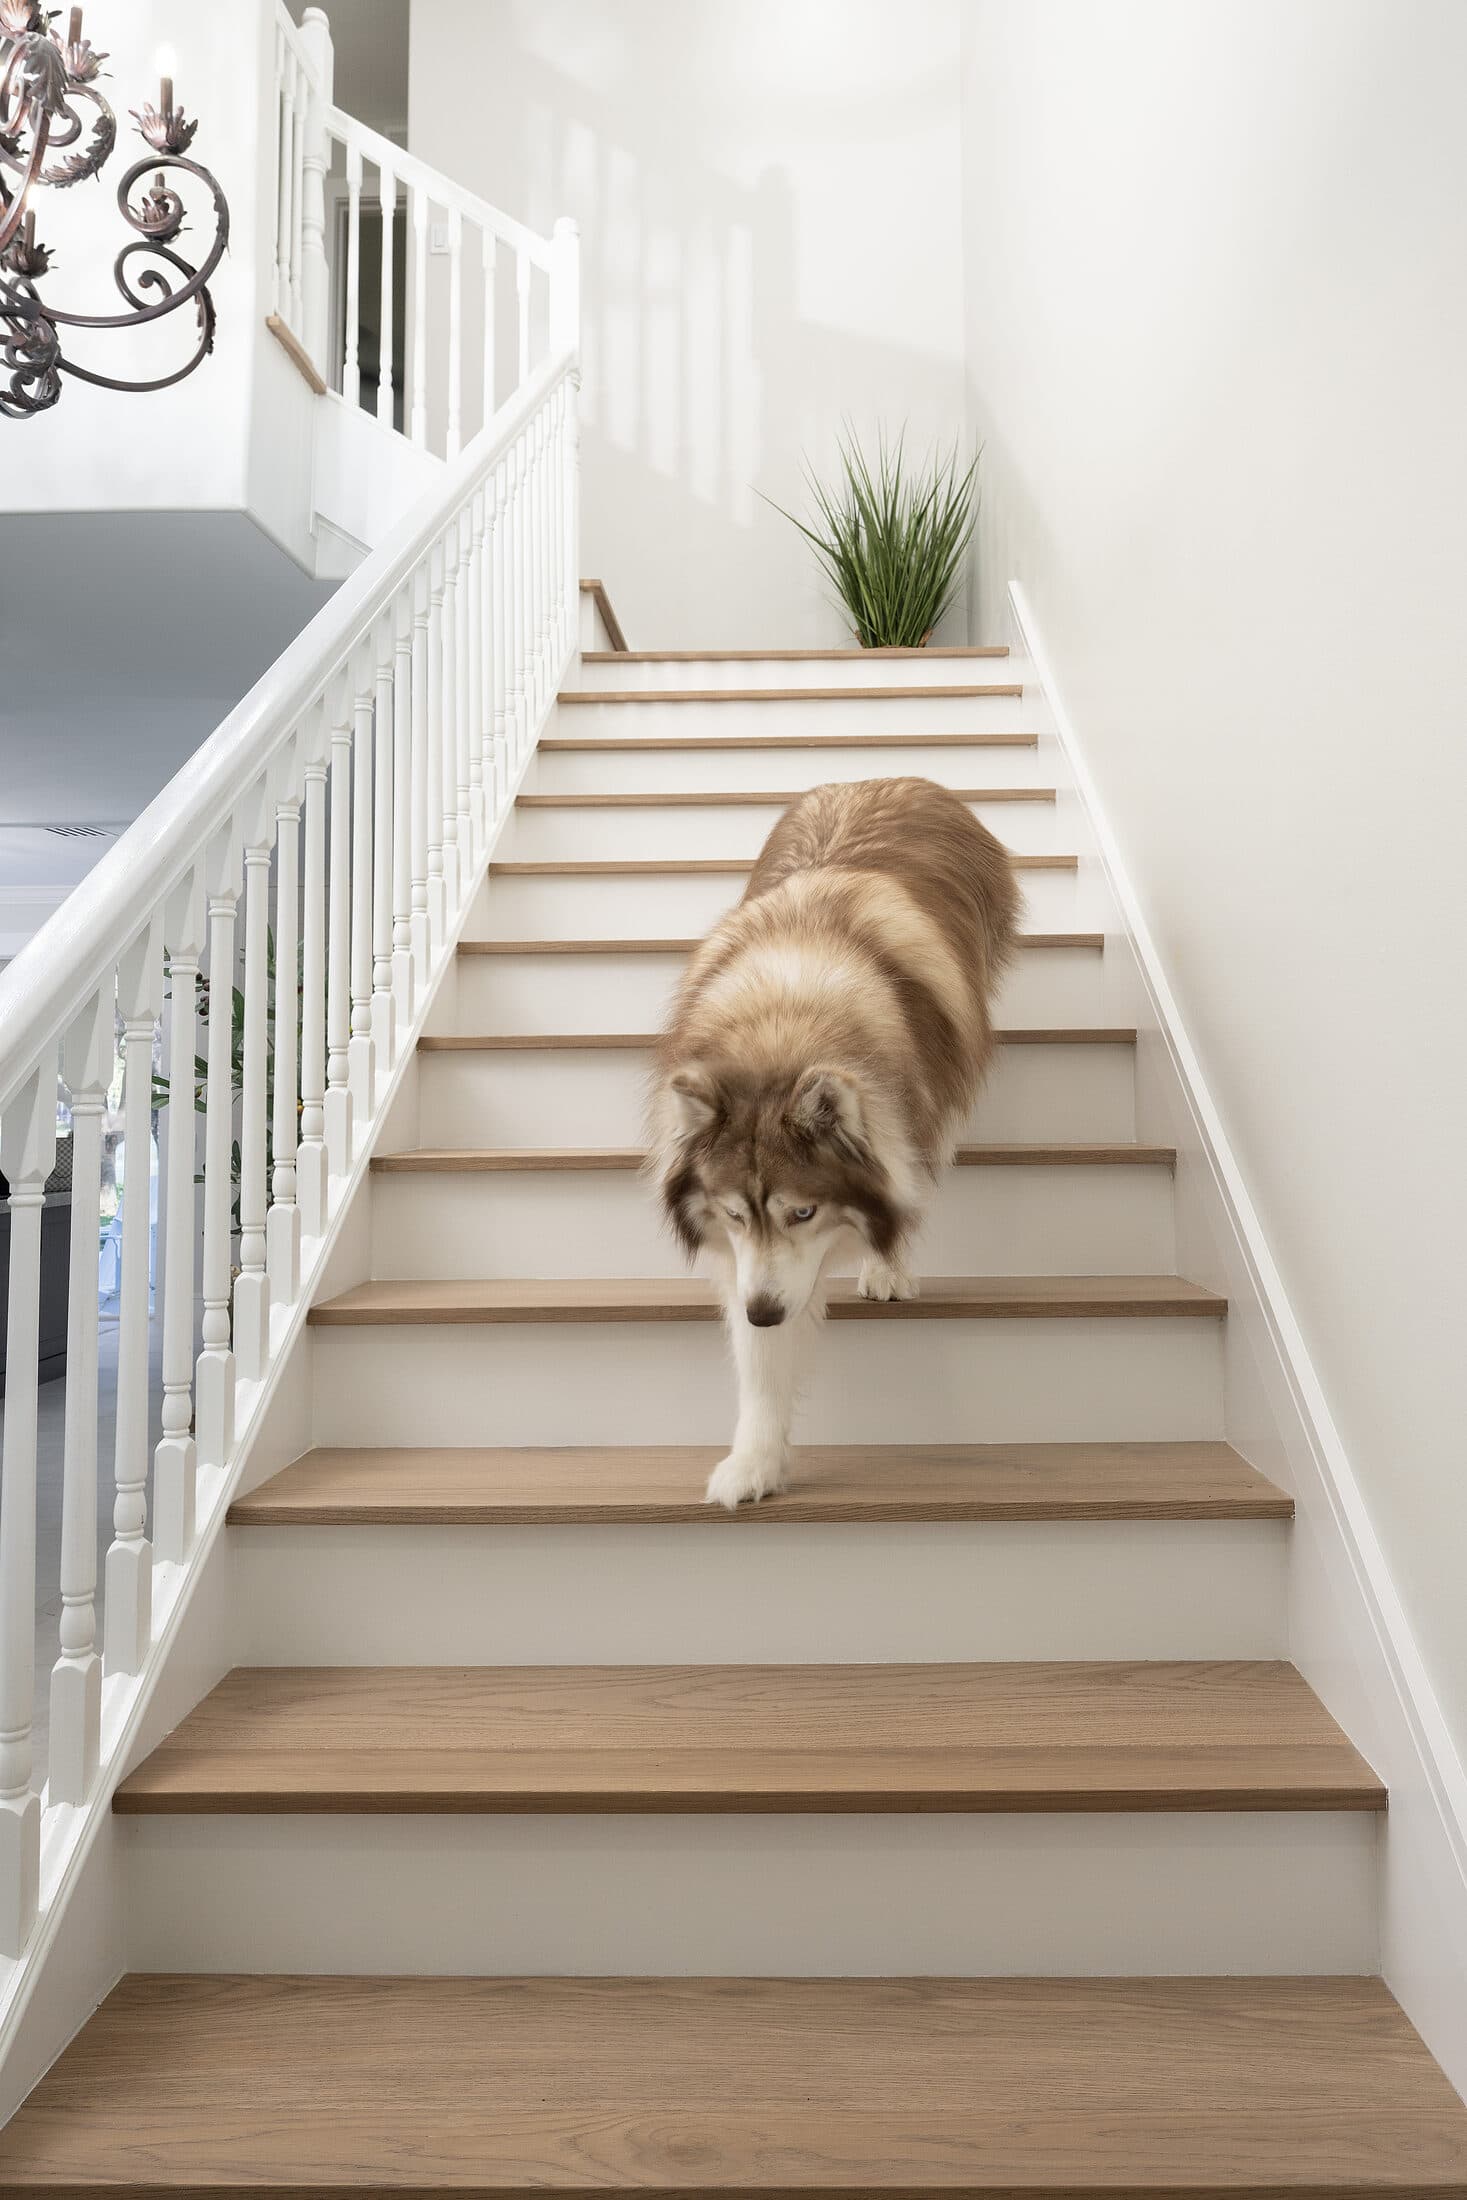
Trim the dog's nails, and make the entry an easy place to leave beach shoes. Cleats, heels, and sandy soles are avoidable damage.
If your floor is past the point where a marker and a mat will do, come see us. We will look at your finish, tell you whether it is a spot repair, a recoat, or a refinish, and — because we have your board and finish on file — match it exactly. Stop by the Naples showroom on Trade Center Way, or call (239) 597-0077. The floor is worth keeping; usually it is a smaller job than you fear.